
Overview
This article will give you a quick guide to using ERIN's Report Builder tool to schedule custom reports delivered directly to your inbox.
Summary
The ERIN Report Builder is a tool for administrators to create custom reports on Referrals, Employees, and Bonuses. Accessible via the admin login, this feature allows users to arrange reportable fields in the desired order, add or remove fields, and customize field names.
To follow along with this article, you must have:
- Administrator-level access to ERIN
To access ERIN’s Report Builder tool, login as an administrator. In the toolbar on the left-hand side of the screen, navigate to the Reports tab and expand the dropdown. From the drop-down list, click on the Report Builder option.

Using the Report Builder
The report builder can be used to customize each of the three available exports within ERIN: Referrals, Employees, and Bonuses. Editing each of these reports can be done in the exact same way. Before getting started, it is important to understand how the report builder will translate to a report.
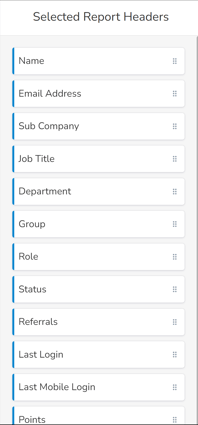
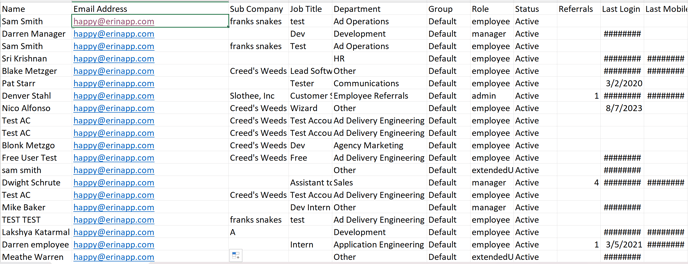
The order in which each field is listed corresponds to the order of the columns for each field in the report. For example, in the figure to the right, the report options are arranged in the order “Name, Email Address, Subcompany, Job Title, Department, Group, Role, Status, Referrals, Last Login, Last Mobile Login, Points.” In the export, the columns are arranged in the same order.
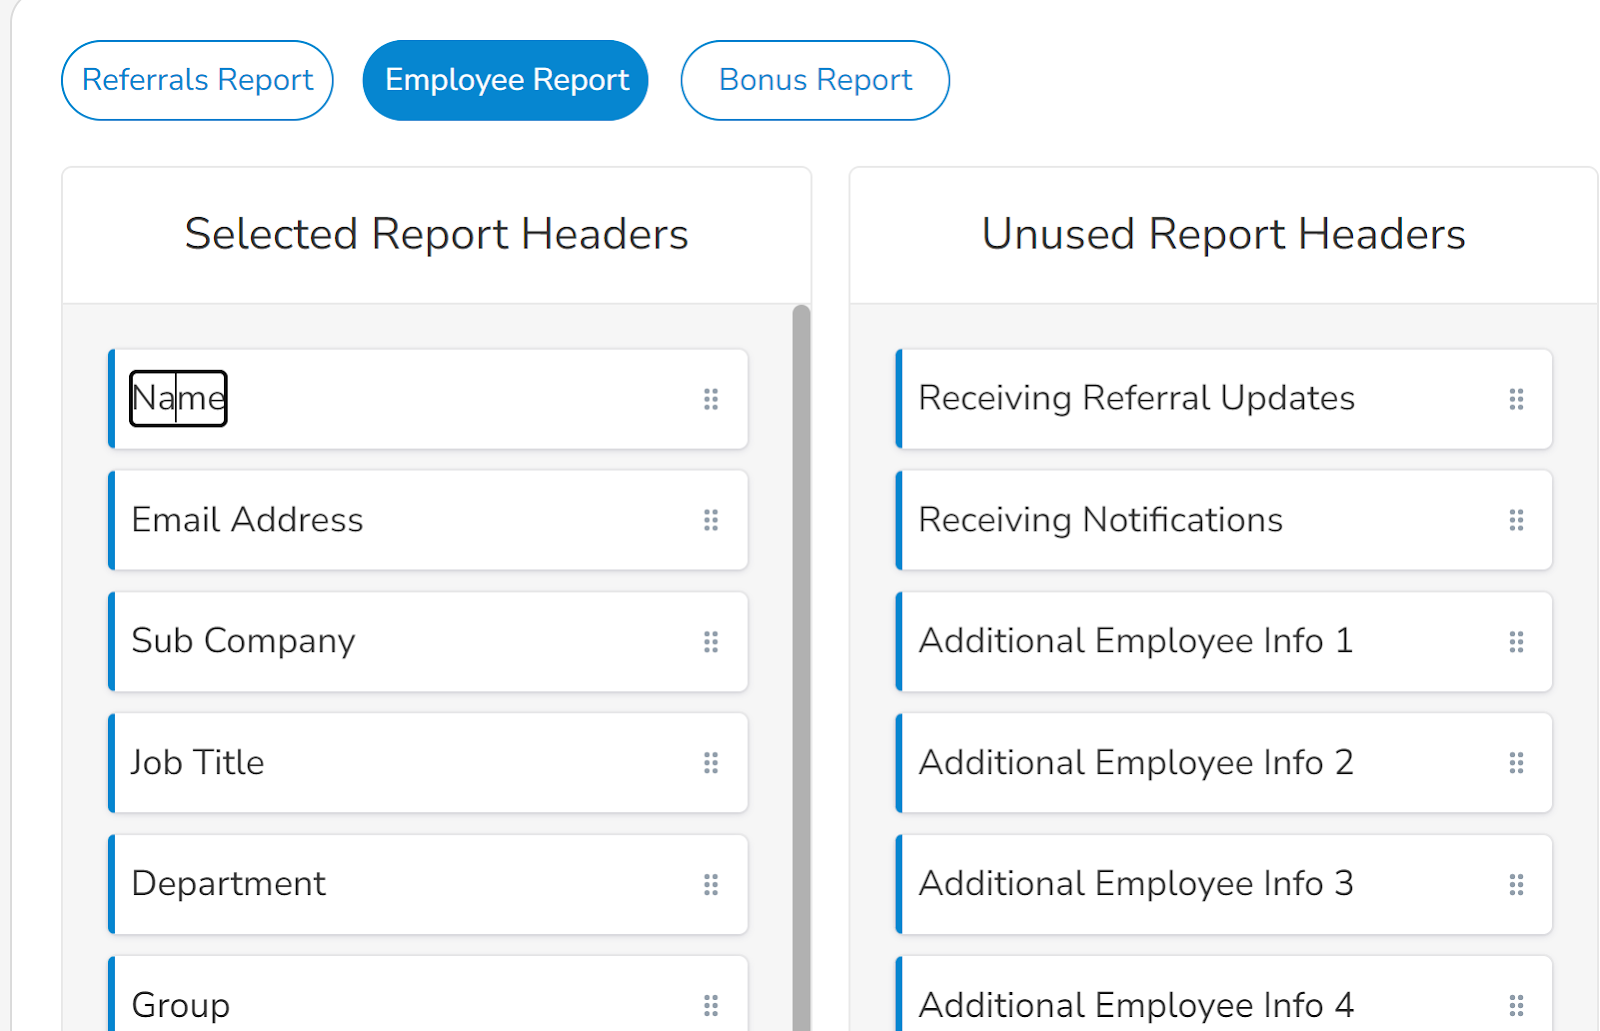
To customize any of the reports, select the report you’d like to edit from the options at the top of the screen (Referral Report, Employee Report, Bonus Report). Once the correct report has been selected, click on the button on the right side of any of the reportable fields and drag them to the location that corresponds to the column where you would like the field listed. The fields listed for each report correspond to all reportable fields that exist within ERIN.
NOTE: These fields are generated from the active employee feed that your company provides. If you do not provide an active employee feed, ERIN will use the following standard reporting fields:
- Employee ID
- Sub-company (if applicable)
- FirstName
- LastName
- Job Title
- Department
If you would like to have an additional field appear and you are providing us with an active employee feed, ensure that the additional field is added to the active employee feed that ERIN ingests.
To add new fields to a report, navigate to the Unused Report Headers section of the report builder, then select the field that you’d like to include on the report. Drag that to the Selected Report Headers section, then move the selection to the location where you would like the field to populate within the report. To remove fields from the report, drag the field that you’d like to remove from the report from the Selected Report Headers section into the Unused Report Headers section.
NOTE: Anything added into the ‘Selected Report Headers’ column will appear on your specific report once saved.
Field Names can be customized from the Report Builder. To edit the name of a field, click on the field’s name. This will allow you to edit the text that appears under the field’s heading in the report. Note that changing these fields’ names will not change the fields in your Applicant Tracking System.
To save any changes made to the report, scroll to the bottom of the Report Builder page and click Update.
Export Settings
The export settings at the bottom of the Report Builder page can be used to edit the name of the custom report, the recipients of the report, and the frequency with which the report is delivered.
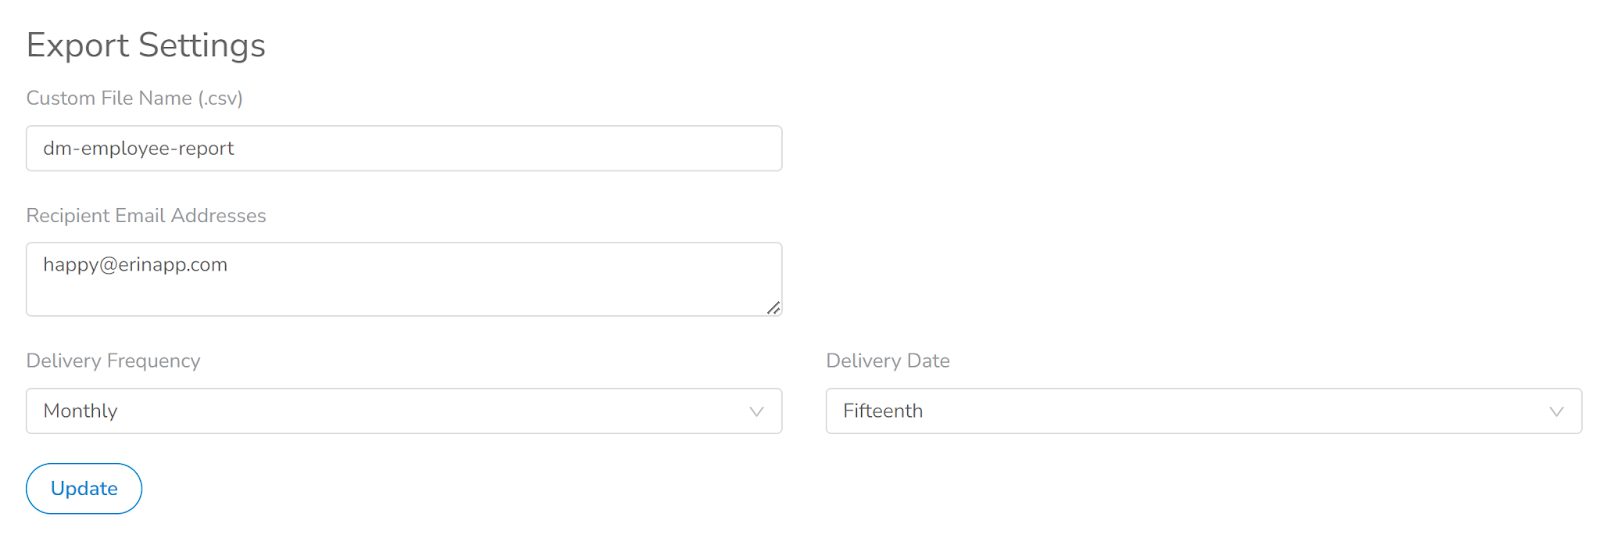
To change the file’s name, use the Custom File Name (.csv) text box. To add recipients to the report, enter the recipients’ email addresses to the Recipient Email Addresses text box. For multiple recipients, separate the email addresses using a comma.
Reports can be delivered Daily, Weekly, or Monthly. Monthly reports are delivered either on the First of the month or the Fifteenth. Weekly reports can be delivered on any day of the week.
Remember, to save any changes you’ve made to the report, click on the Update button at the bottom of the page.